

Giới thiệu #
Trước khi hướng dẫn chi tiết cách cài đặt FusionPBX trên Debian 8 thì chúng ta tìm hiểu về FusionPBX trước đã:
- FusionPBX là một dự án nguồn mở cung cấp giao diện quản trị tổng đài có thể tùy chỉnh một cách linh hoạt.
- FusionPBX cung cấp cho người dùng giao diện quản lý tất cả các tính năng cơ bản trên tổng đài: gọi điện, quản lý cuộc gọi, thư thoại, nhạc chờ, IVR,… và hoàn toàn có thể mở rộng và tùy chỉnh.
- FusionPBX chạy trên nền tảng thoại là Freeswitch…
Điểm sơ qua về cấu trúc FusionPBX #
- Hỗ trợ OS: Centos, Debian, Ubuntu, Windows
- Phần mềm tổng đài: FreeSWITCH xử lý cuộc gọi
- Giao diện người dùng: FusionPBX hỗ trợ việc quản lý đơn giản và hiệu quả
Các bước cài đặt #
Cài đặt các gói cần thiết và khởi động lại server:
apt-get update && apt-get upgrade
apt-get install systemd wget
apt-get install systemd-sysv
apt-get install ca-certificates
reboot

Bước 1: Cài đặt các gói dịch vụ
apt update && apt upgrade -y && apt -y remove apache2
apt -y install git nano dbus sudo nginx curl lsb-release memcached sqlite3 postgresql-9.4 postgresql-client-9.4 haveged ghostscript libtiff5-dev libtiff-tools at tftpd ssl-cert fail2ban

Bước 2: Cài đặt PHP
apt -y install apt-transport-https ca-certificates
wget -O /etc/apt/trusted.gpg.d/php.gpg https://packages.sury.org/php/apt.gpg
echo "deb https://packages.sury.org/php/ $(lsb_release -sc) main" > /etc/apt/sources.list.d/php.list
apt update && apt -y install php7.1 php7.1-cli php7.1-common php7.1-curl php7.1-mcrypt php7.1-pgsql php7.1-sqlite3 php7.1-odbc php7.1-xml php7.1-imap php7.1-fpm
Bước 3: Disabled Selinux #
Đầu tiên kiểm tra xem selinux có enable hay không
sestatus
Nếu có trạng thái là enable thì gõ lệnh sau:
sed -i 's/\(^SELINUX=\).*/\SELINUX=disabled/' /etc/selinux/config
Sau đó reboot server
Bước 4: Tắt Firewall và Iptables #
systemctl disable firewalld
systemctl disable iptables
systemctl stop firewalld
systemctl stop iptables

Bước 5: Cài đặt múi giờ
timedatectl set-timezone Asia/Ho_Chi_Minh

Bước 6: Cài đặt Freeswitch
curl https://files.freeswitch.org/repo/deb/debian/freeswitch_archive_g0.pub | apt-key add -
echo "deb http://files.freeswitch.org/repo/deb/freeswitch-1.6/ $(lsb_release -sc) main" > \
/etc/apt/sources.list.d/freeswitch.list
apt update && apt -y install freeswitch-all freeswitch-all-dbg freeswitch-sounds* freeswitch-music* gdb
Bước 7: Cài đặt Databases #
Đảm bảo kết nối local không cần xác thực để phục vụ cho việc backup
nano +92 /etc/postgresql/9.4/main/pg_hba.conf
host all all 127.0.0.1/32 trust
systemctl restart postgresql
Kiểm tra Postgresql
sudo -u postgres psql -
Kiểm tra cột Collate và Ctype xem có phải en_US.UTF8 nếu không thì gõ lệnh sau:
sudo -u postgres psql
update pg_database set encoding = 6, datcollate = 'en_US.UTF8', datctype = 'en_US.UTF8' where datname = 'template1';
Tạo databases và user, tạo user fusionpbx có mật khẩu là “tel4vn.edu.vn”
cd /tmp
sudo -u postgres psql -c "CREATE DATABASE fusionpbx;"
sudo -u postgres psql -c "CREATE DATABASE freeswitch;"
sudo -u postgres psql -c "CREATE ROLE fusionpbx WITH SUPERUSER LOGIN PASSWORD 'tel4vn.edu.vn';"
sudo -u postgres psql -c "GRANT ALL PRIVILEGES ON DATABASE fusionpbx to fusionpbx;"
sudo -u postgres psql -c "GRANT ALL PRIVILEGES ON DATABASE freeswitch to fusionpbx;"
Bước 8: Cài đặt FusionPBX #
mkdir -p /etc/fusionpbx
mkdir -p /var/www/fusionpbx
git clone -b 4.4 https://github.com/fusionpbx/fusionpbx.git /var/www/fusionpbx

Copy file config vào thư mục /etc/freeswitch
mv /etc/freeswitch /etc/freeswitch.orig
mkdir /etc/freeswitch
cp -R /var/www/fusionpbx/resources/templates/conf/* /etc/freeswitch

Copy thư mục music đã tải về vào đúng đường dẫn
mkdir -p /usr/share/freeswitch/sounds/music/default
mv /usr/share/freeswitch/sounds/music/*000/ /usr/share/freeswitch/sounds/music/default/
Bước 9: Cấu hình PHP-fpm #
sed 's#post_max_size = .*#post_max_size = 80M#g' -i /etc/php/7.1/fpm/php.ini
sed 's#upload_max_filesize = .*#upload_max_filesize = 80M#g' -i /etc/php/7.1/fpm/php.ini
Restart php-fpm
systemctl restart php7.1-fpm
Bước 10: Cấu hình NGINX #
mkdir -p /etc/nginx/ssl
cd /etc/nginx/sites-available
wget https://raw.githubusercontent.com/powerpbx/fusionpbx-install.sh/master/debian/resources/nginx/fusionpbx
sed -i /etc/nginx/sites-available/fusionpbx -e 's#unix:.*;#unix:/var/run/php/php7.1-fpm.sock;#g'
ln -s /etc/nginx/sites-available/fusionpbx /etc/nginx/sites-enabled/fusionpbx
rm /etc/nginx/sites-enabled/default
# link to self signed certificate
ln -s /etc/ssl/private/ssl-cert-snakeoil.key /etc/ssl/private/nginx.key
ln -s /etc/ssl/certs/ssl-cert-snakeoil.pem /etc/ssl/certs/nginx.crt
mkdir -p /var/www/letsencrypt/

Restart NGINX
systemctl restart nginx
Bước 11: Cấu hình Systemd #
systemctl stop freeswitch
rm -r /run/freeswitch
nano /etc/systemd/system/freeswitch.service
Copy đoạn bên dưới bỏ vào
[Unit]
Description=freeswitch
After=syslog.target network.target local-fs.target postgresql.service

[Service]
Type=forking
RuntimeDirectory=freeswitch
PIDFile=/run/freeswitch/freeswitch.pid
Environment="DAEMON_OPTS=-ncwait -nonat"
EnvironmentFile=-/etc/default/freeswitch
ExecStart=/usr/bin/freeswitch $DAEMON_OPTS
TimeoutSec=45s
Restart=always
User=www-data
Group=www-data
LimitCORE=infinity
LimitNOFILE=100000
LimitNPROC=60000
LimitSTACK=250000
LimitRTPRIO=infinity
LimitRTTIME=infinity
IOSchedulingClass=realtime
IOSchedulingPriority=2
CPUSchedulingPriority=89
UMask=0007

; Comment this out if using OpenVZ
CPUSchedulingPolicy=rr

[Install]
WantedBy=multi-user.target
Tạo file environment
cat >> /etc/default/freeswitch << EOF
# Uncommented variables will override variables in unit file
# User=""
# Group=""
# DAEMON_OPTS=""
EOF
Bước 12: Cấp quyền cho thư mục và file
Cấp quyền cho user www-data
chown -R www-data. /etc/freeswitch /etc/fusionpbx /var/lib/freeswitch \
/var/log/freeswitch /usr/share/freeswitch /var/www/fusionpbx /var/run/freeswitch
Cấp quyền 755 (u=rwx,g=rx,o=’rx’)
find /etc/freeswitch -type d -exec chmod 755 {} \;
find /etc/fusionpbx -type d -exec chmod 755 {} \;
find /var/lib/freeswitch -type d -exec chmod 755 {} \;
find /var/log/freeswitch -type d -exec chmod 755 {} \;
find /usr/share/freeswitch -type d -exec chmod 755 {} \;
find /var/www/html -type d -exec chmod 755 {} \;
Cấp quyền 644 (u=rw,g=rw,o=r)
find /etc/freeswitch -type f -exec chmod 664 {} \;
find /etc/fusionpbx -type f -exec chmod 664 {} \;
find /var/lib/freeswitch -type f -exec chmod 664 {} \;
find /var/log/freeswitch -type f -exec chmod 664 {} \;
find /usr/share/freeswitch -type f -exec chmod 664 {} \;
find /var/www/html -type f -exec chmod 664 {} \;

Cấp quyền 755 (u=rwx,g=rx,o='rx')
chmod -R 755 /var/www/fusionpbx/secure
Bước 13: Enable services #
systemctl daemon-reload
systemctl enable freeswitch
systemctl restart freeswitch
Bước 14: Mở web để cài đặt FusionPBX #
Mở trình duyệt web nhập ip của server vào
Sẽ hiện lênh phần cài đặt, đầu tiên là ngôn ngữ
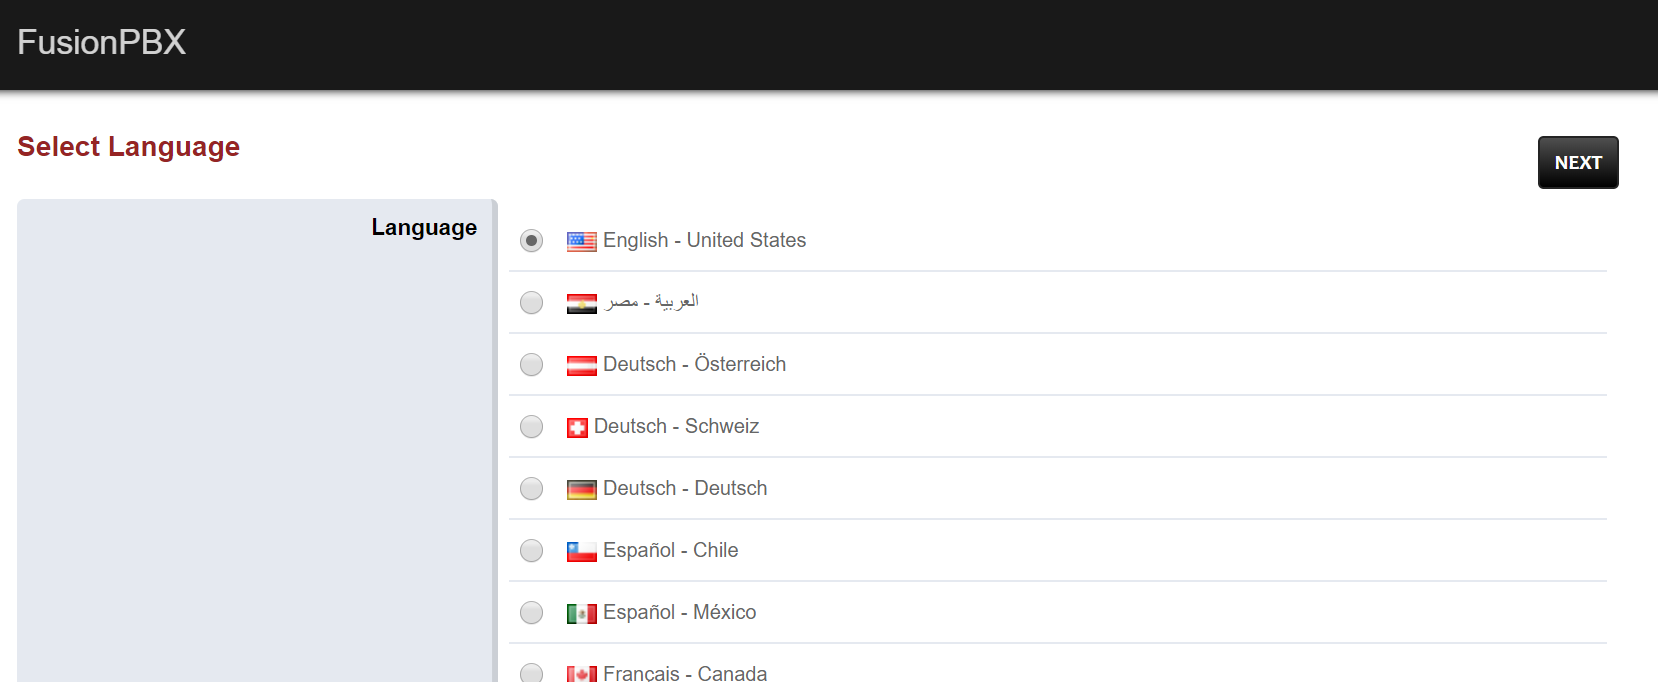
Chọn Next để tiếp tục
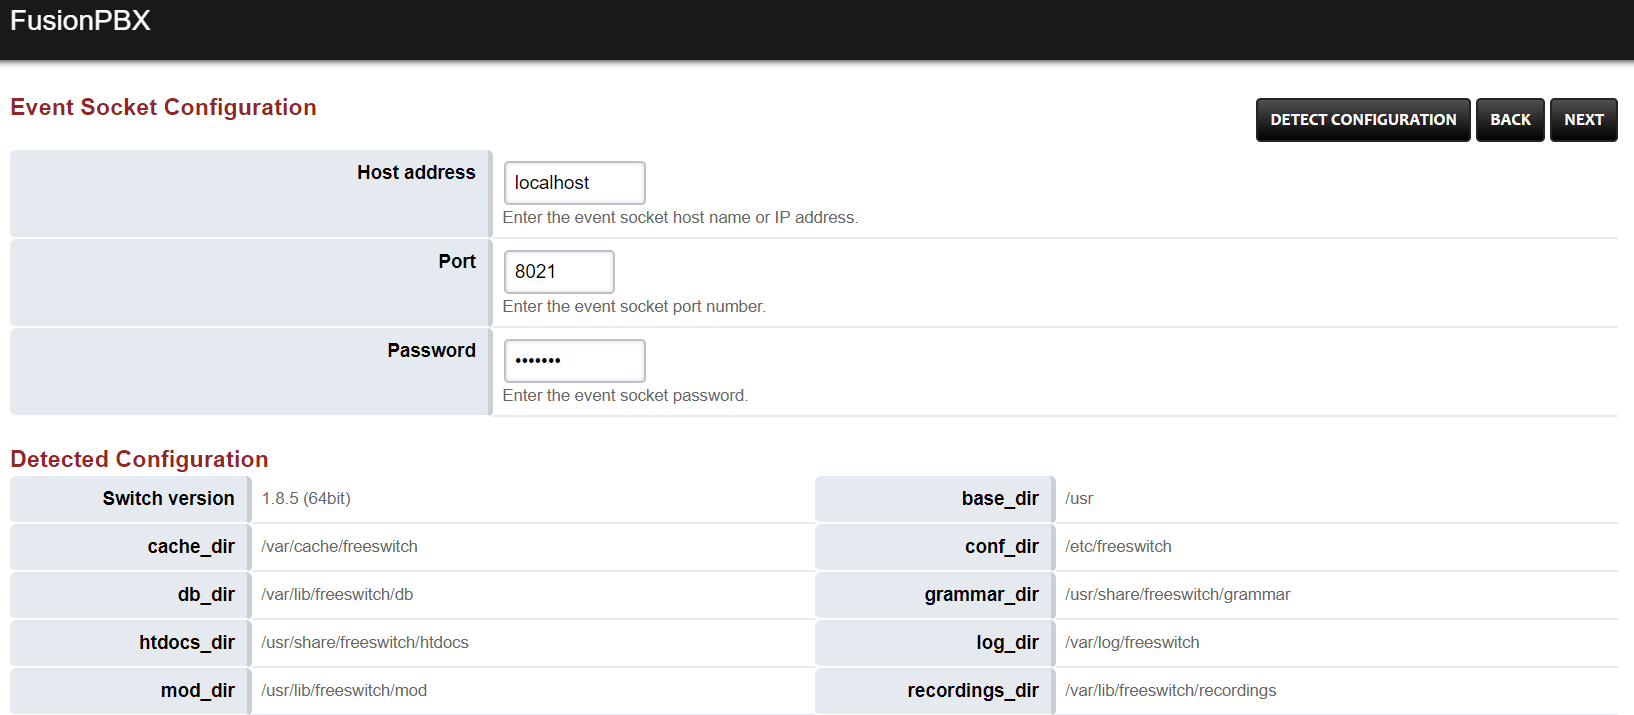
Chọn Next để tiếp tục
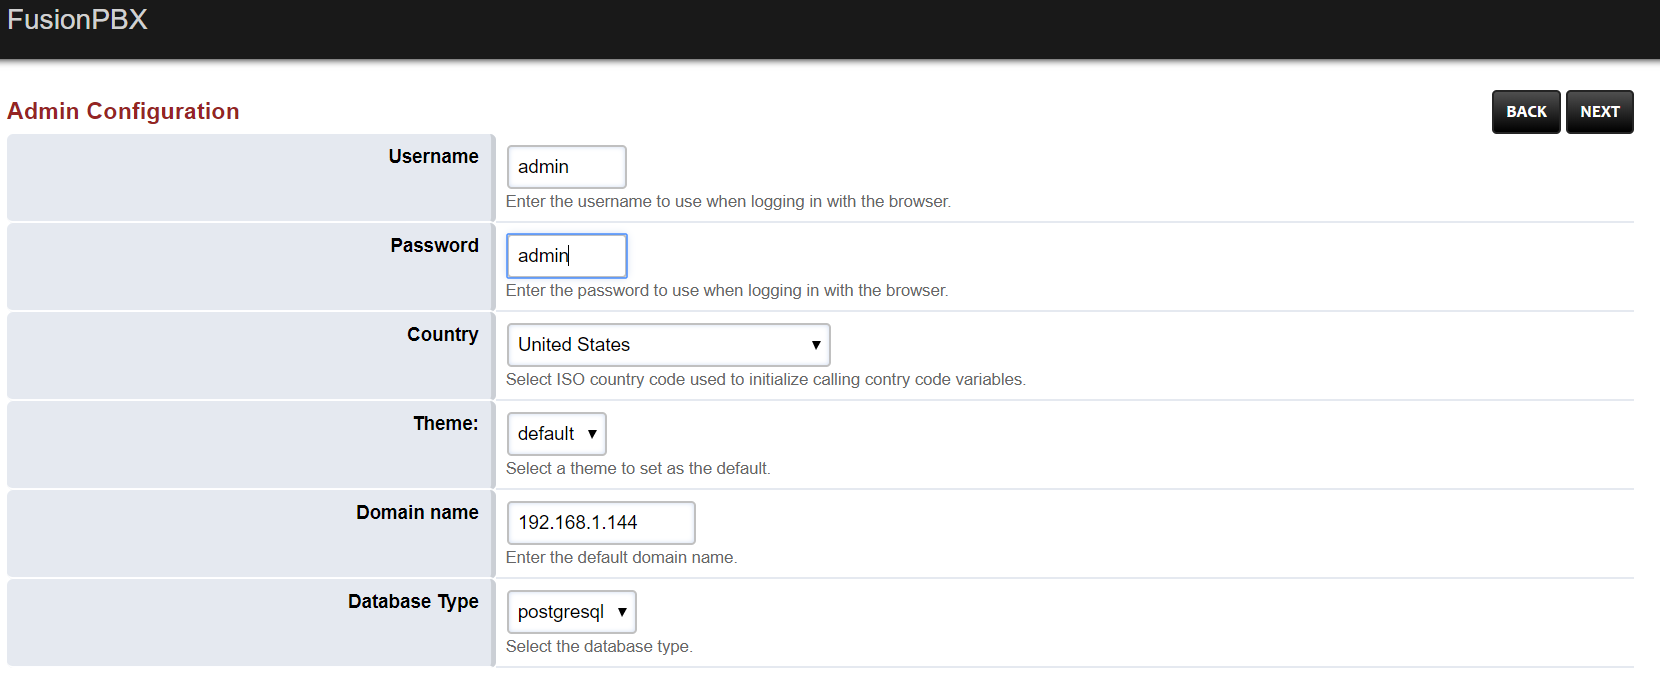
Tiếp tục tạo user đăng nhập
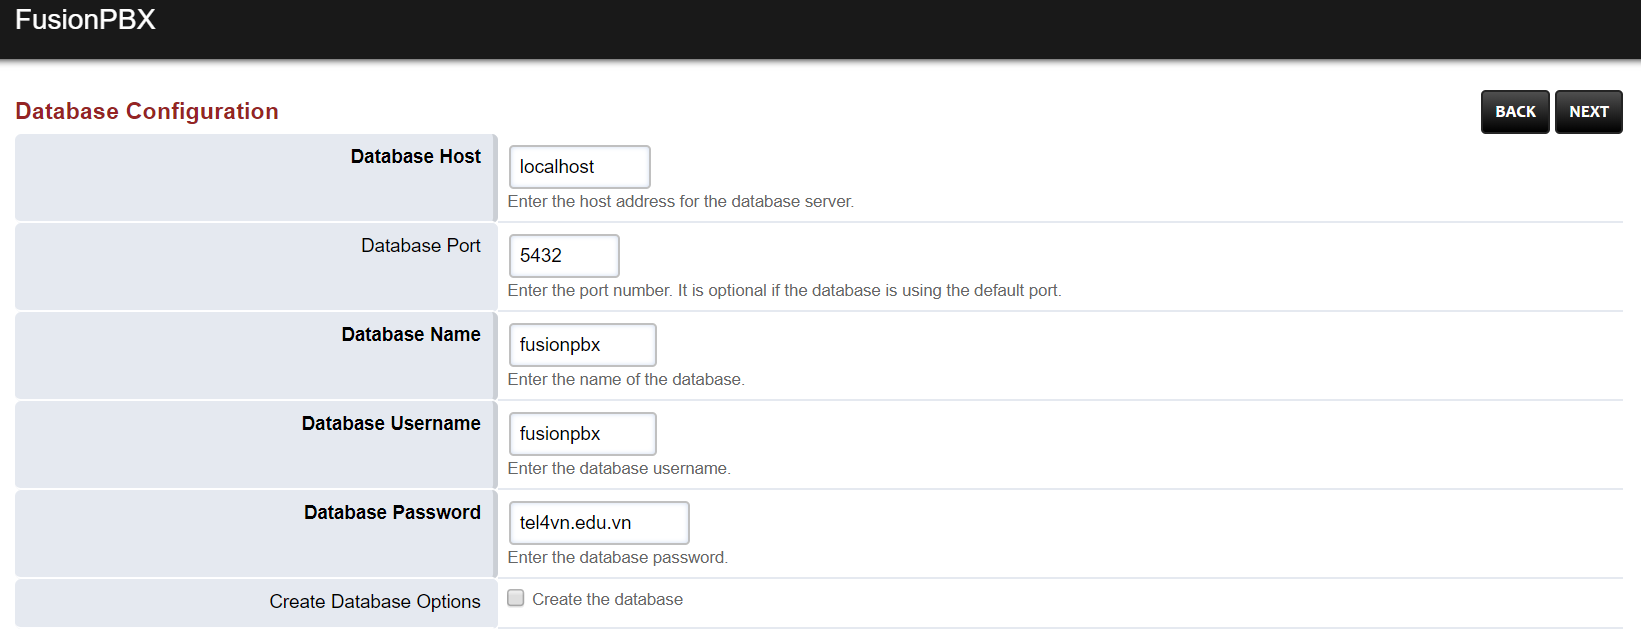
Cấu hình databases
- Databases Username: fusionpbx
- Databases Password: tel4vn.edu.vn
Password đã tạo ở bước 7
Sau đó chọn Next để cài đặt
Chờ vài giây để cài đặt
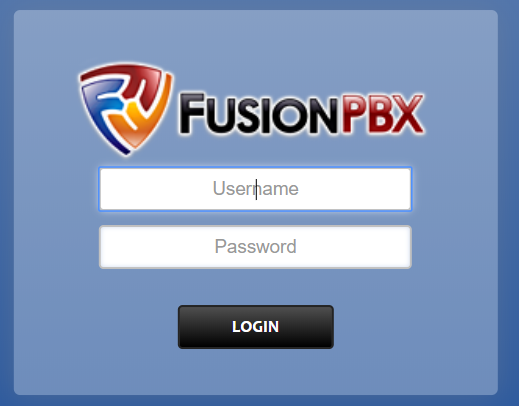
Sau khi cài đặt xong sẽ hiển thị ra màn hình đăng nhập
Nhập user và pass vừa tạo: admin/admin
Giao diện FusionPBX 4.4 như sau
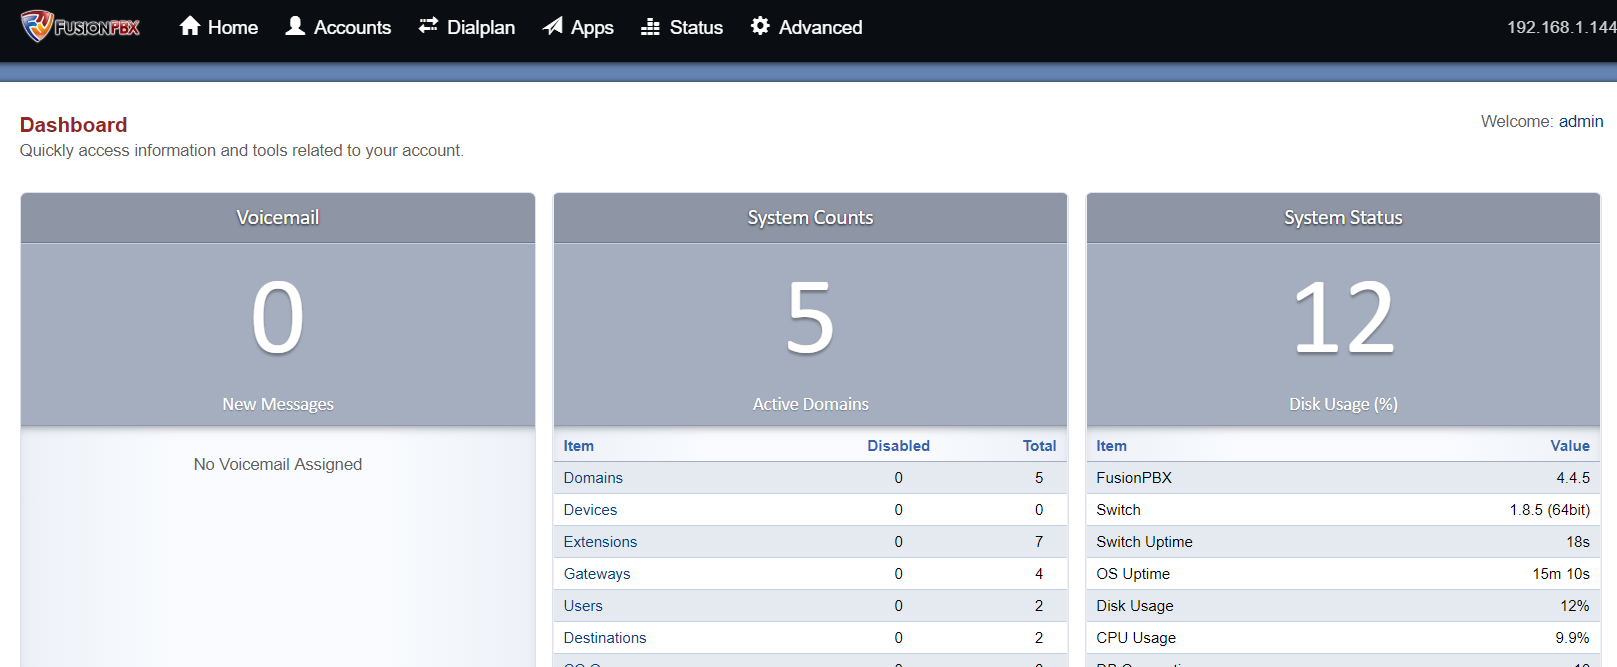
Chúc bạn thành công !!!
Nguồn: https://fusionpbx-docs.readthedocs.io
Link video: Tại đây